Getting started
Four simple steps

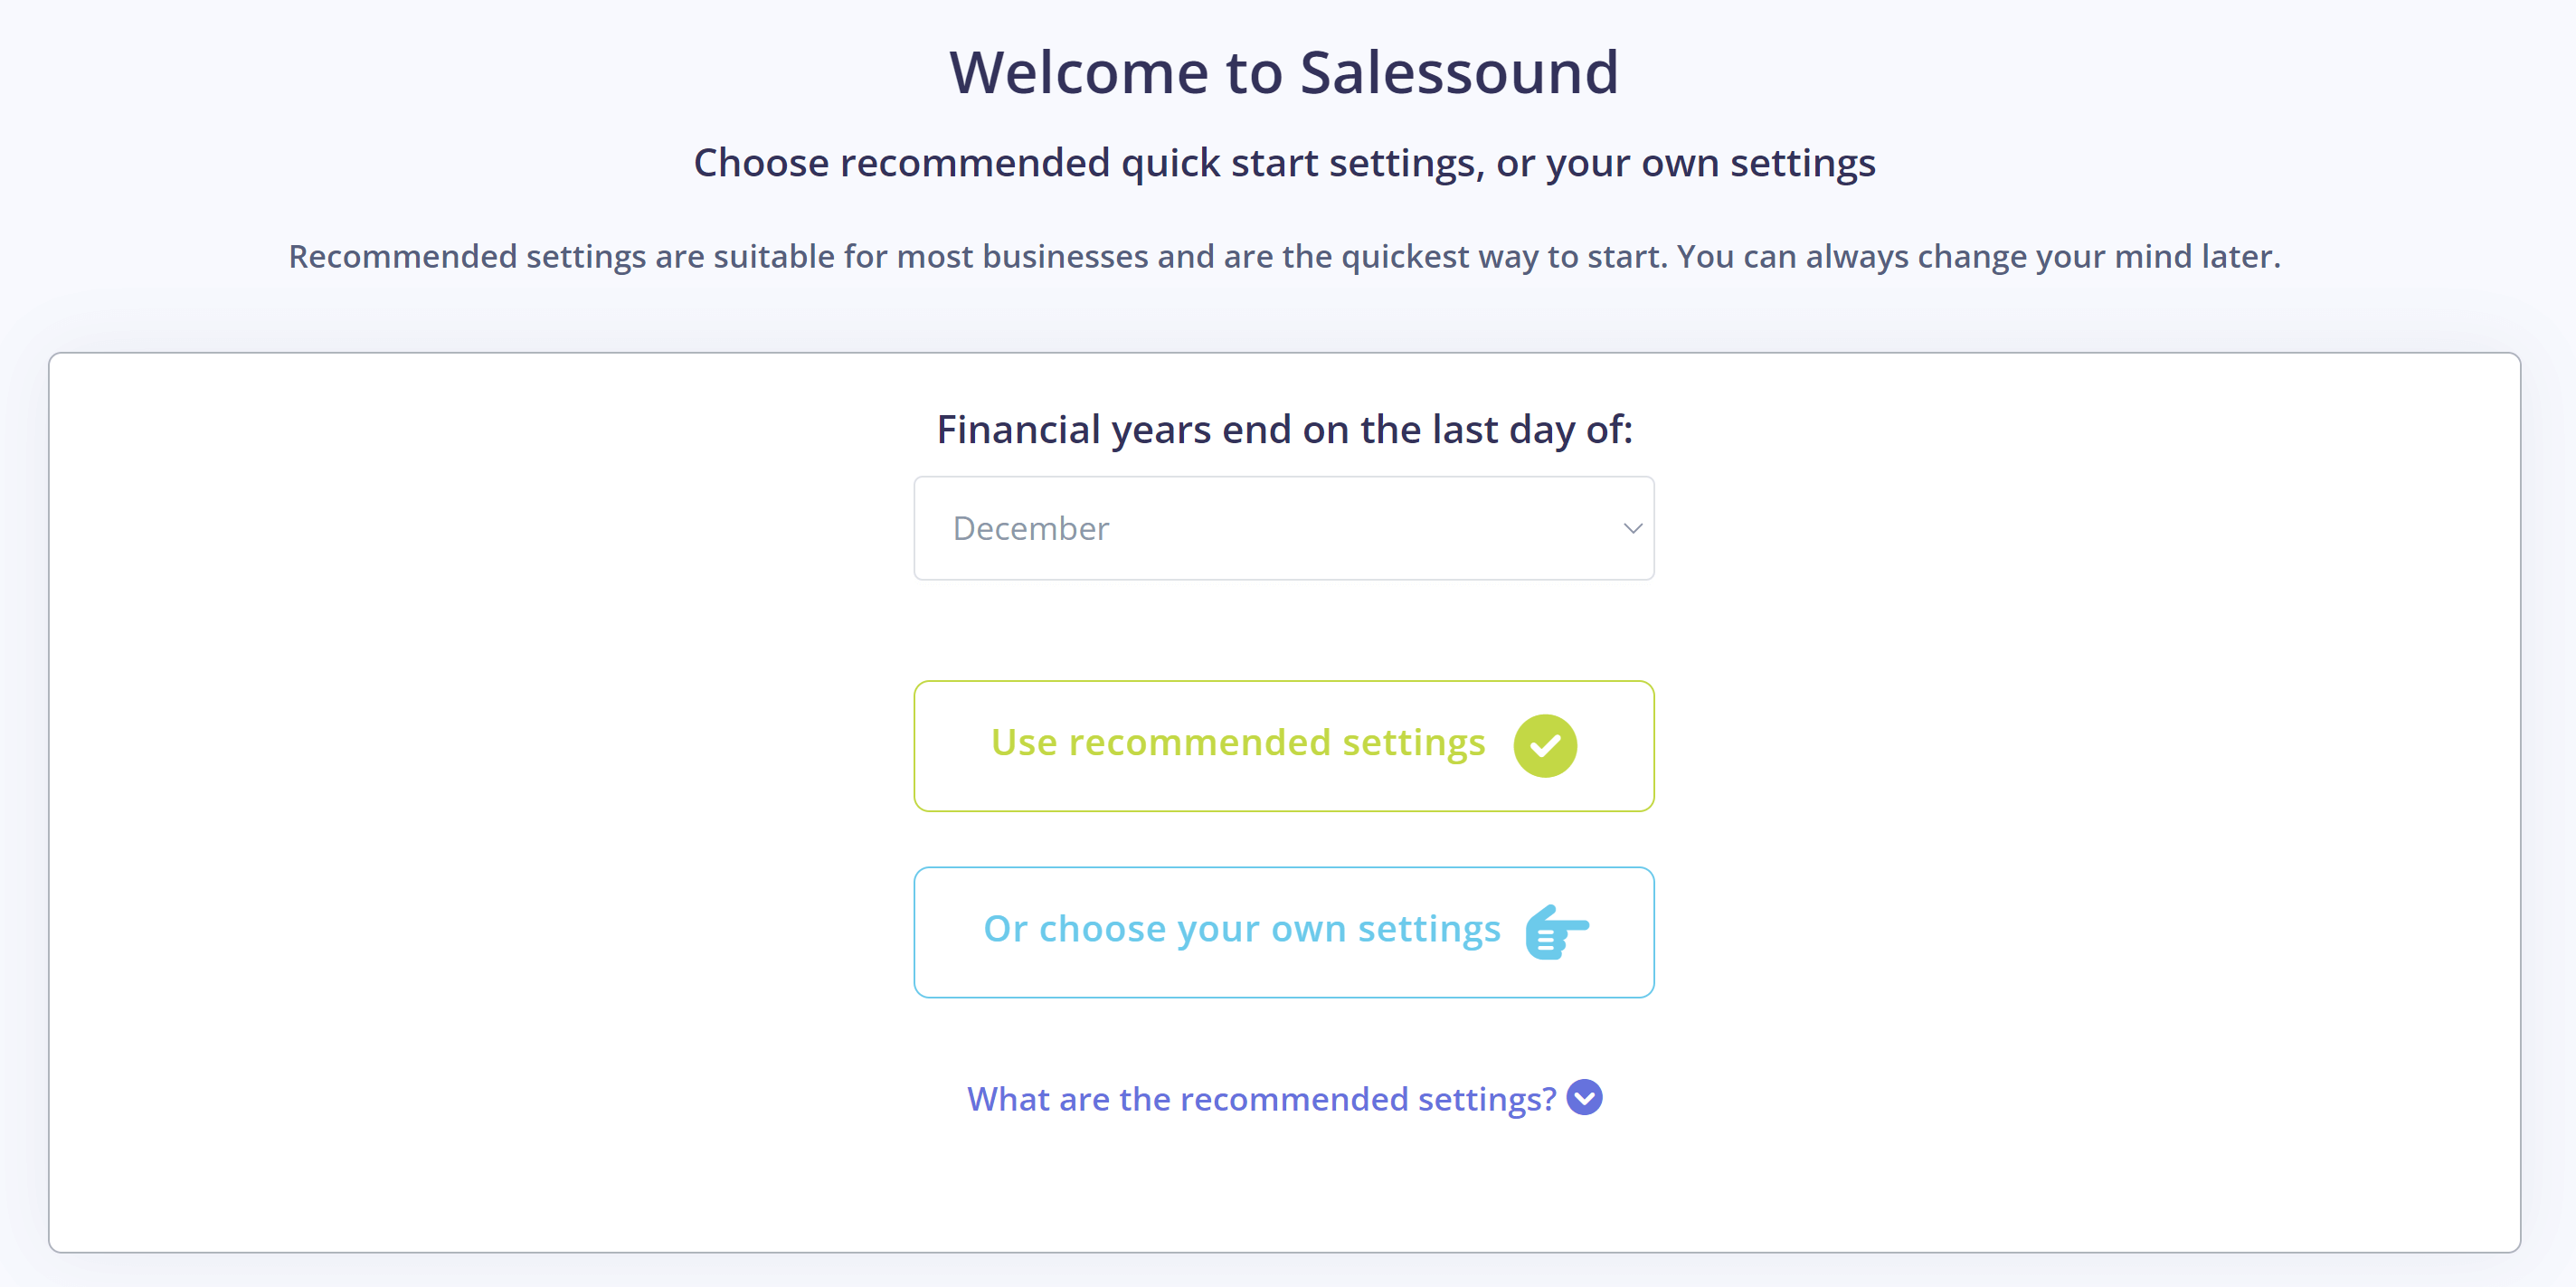
1. Choose recommended settings.
When your Salessound account owner first logs on, they will see the recommended option to use quick start settings, which are suitable for most businesses.
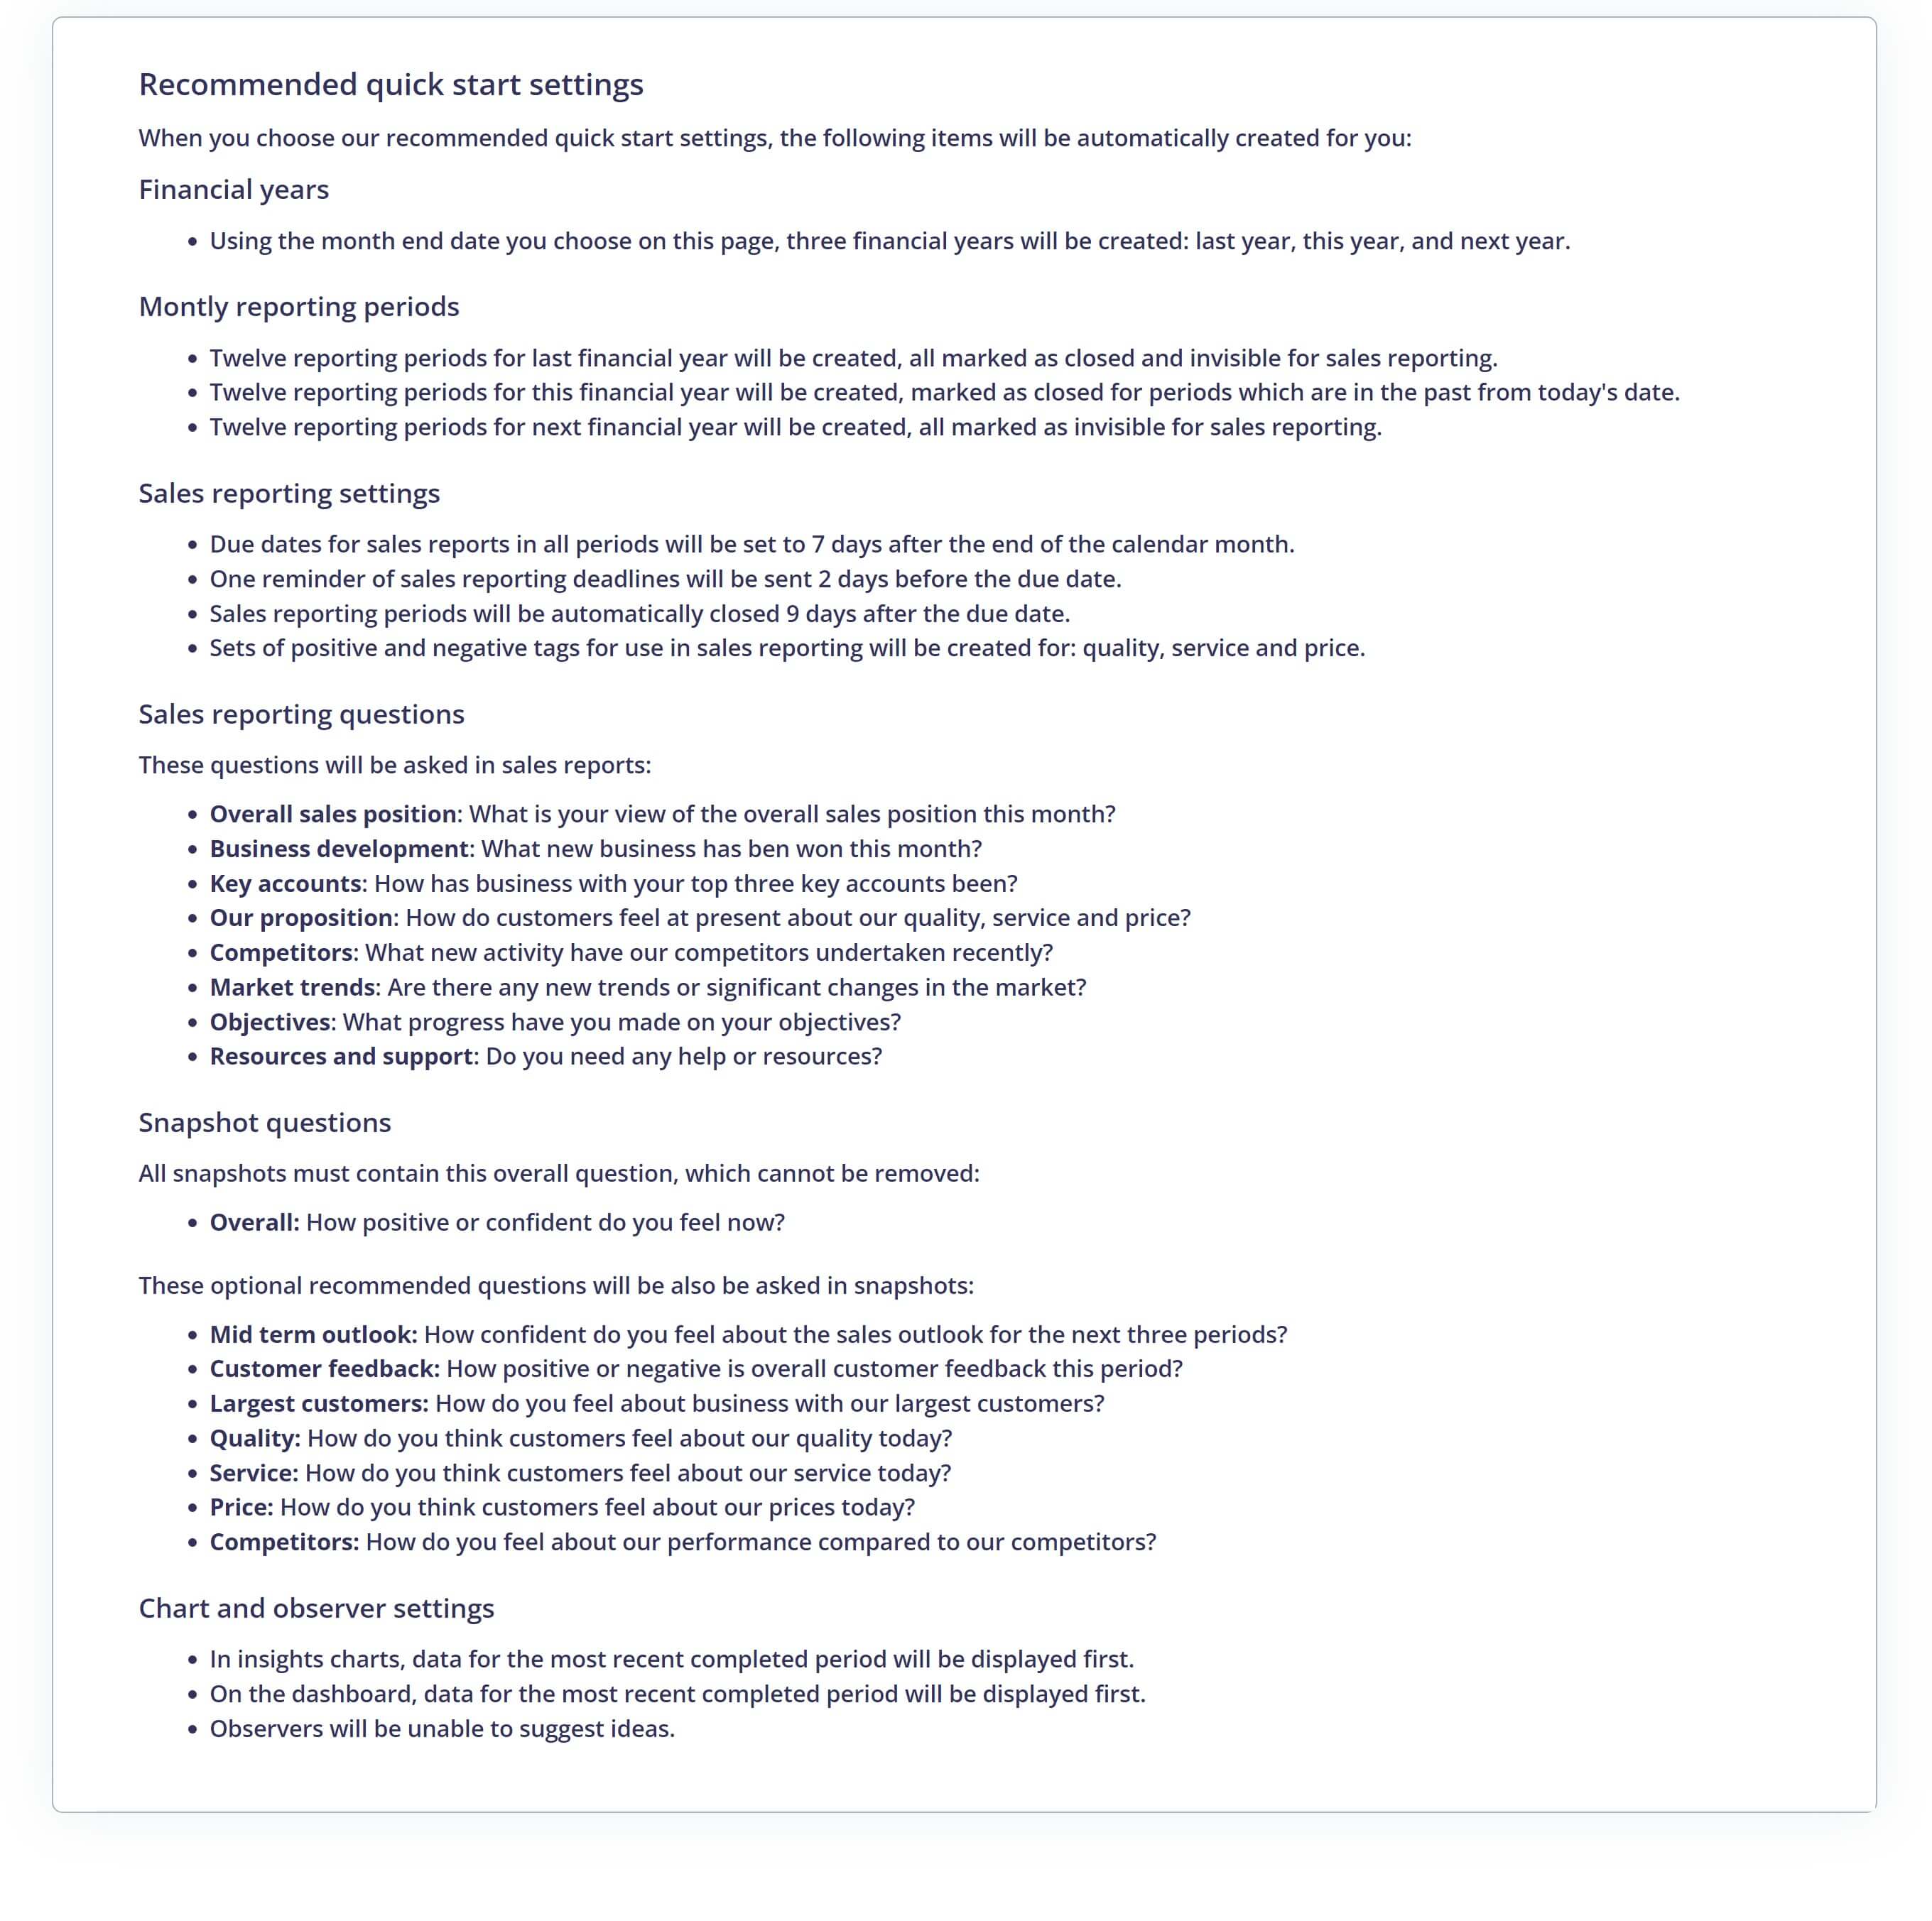
Click the link "What are the recommended settings?" to see the detail of what will be created for you.
The recommended quick start settings can be altered or deleted by your account owner at any time.
2. Create categories, teams, and add people.
Choose "Settings" from the top menu, then choose "Organisation".
Use organisation optionally to create categories, which arrange how your sales team and sales data are grouped, analysed and displayed.
Four quick start organisation settings are provided for you: "Business unit", "Business department", "Sector" and "Territory". You can quickly change those terms to anything you prefer by clicking the term and typing your own word.
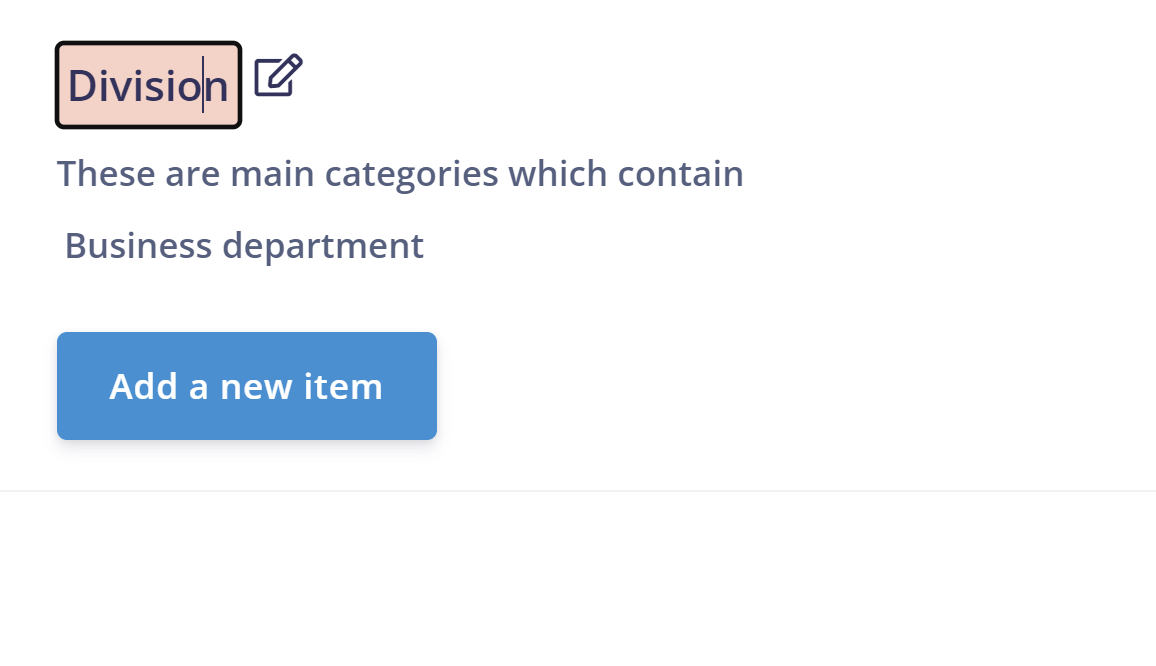

Add items to your categories
For example, for "Sectors" you could add "Agriculture", "Retail", "Hotels"

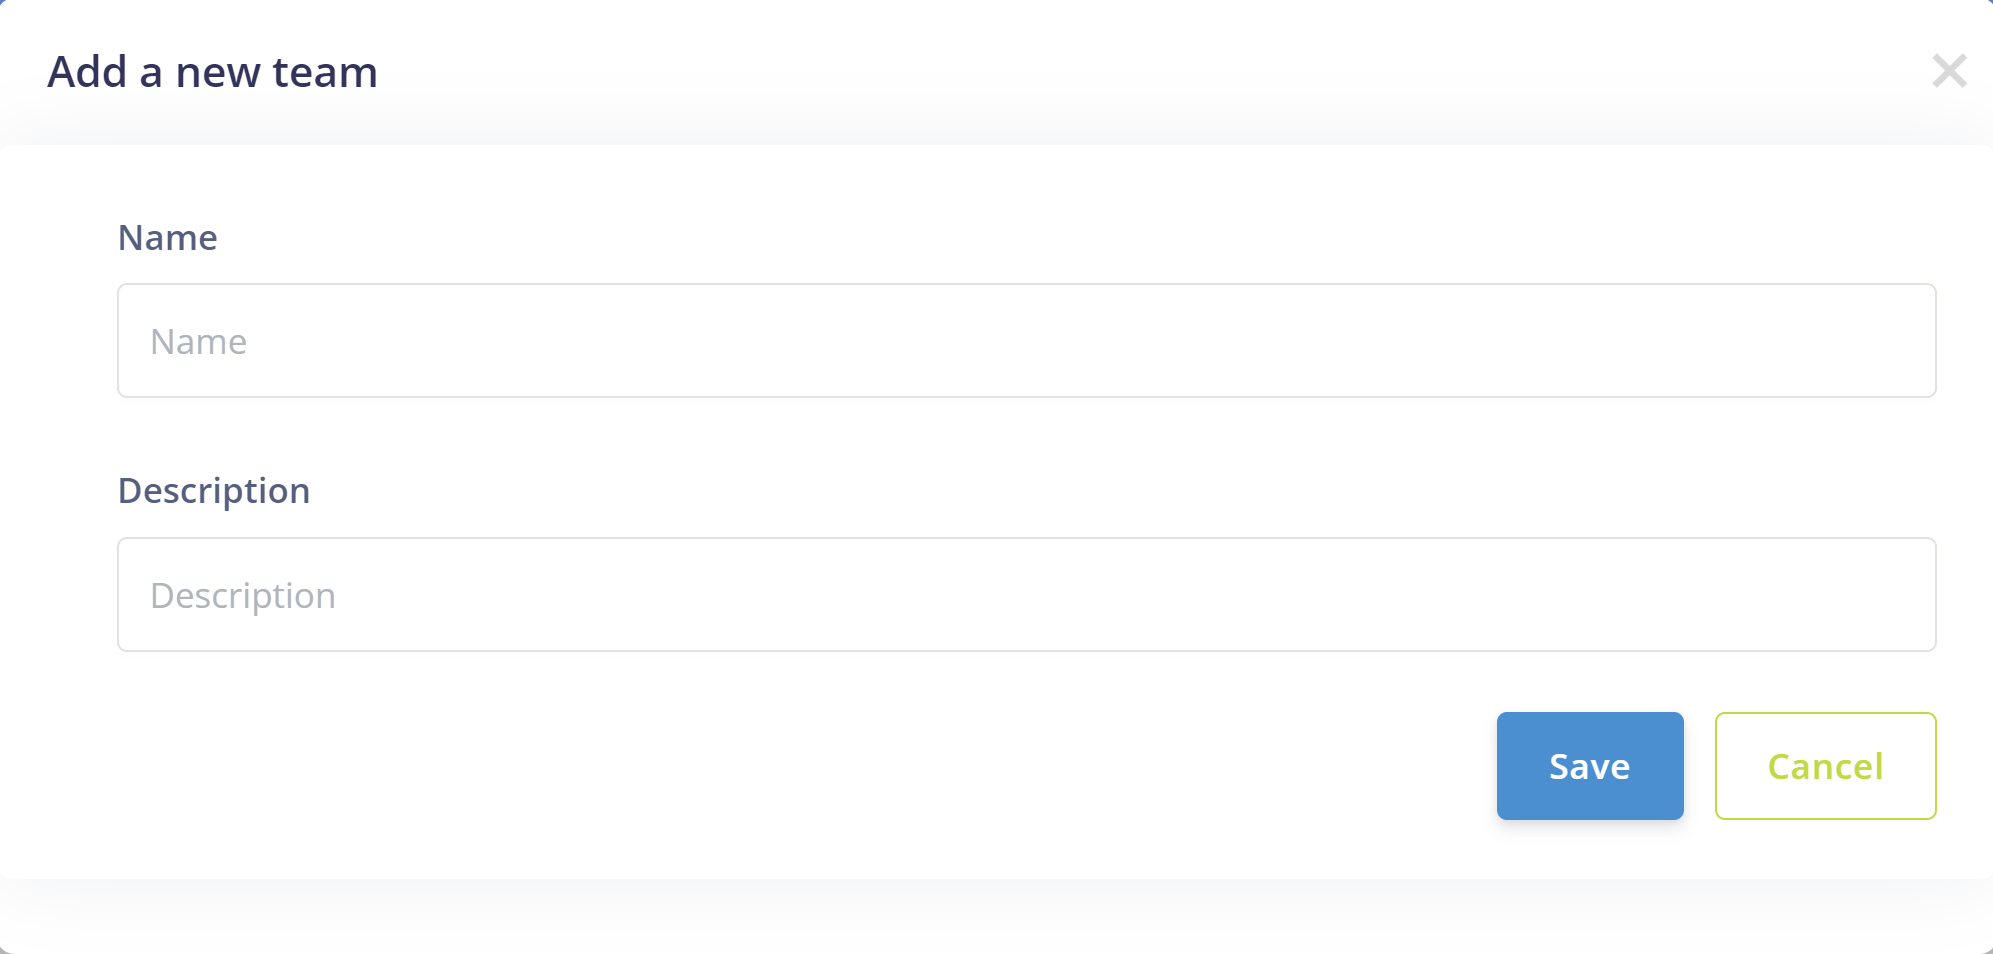
Create teams
Choose "People/Sales team" from the top menu, then choose "New team".
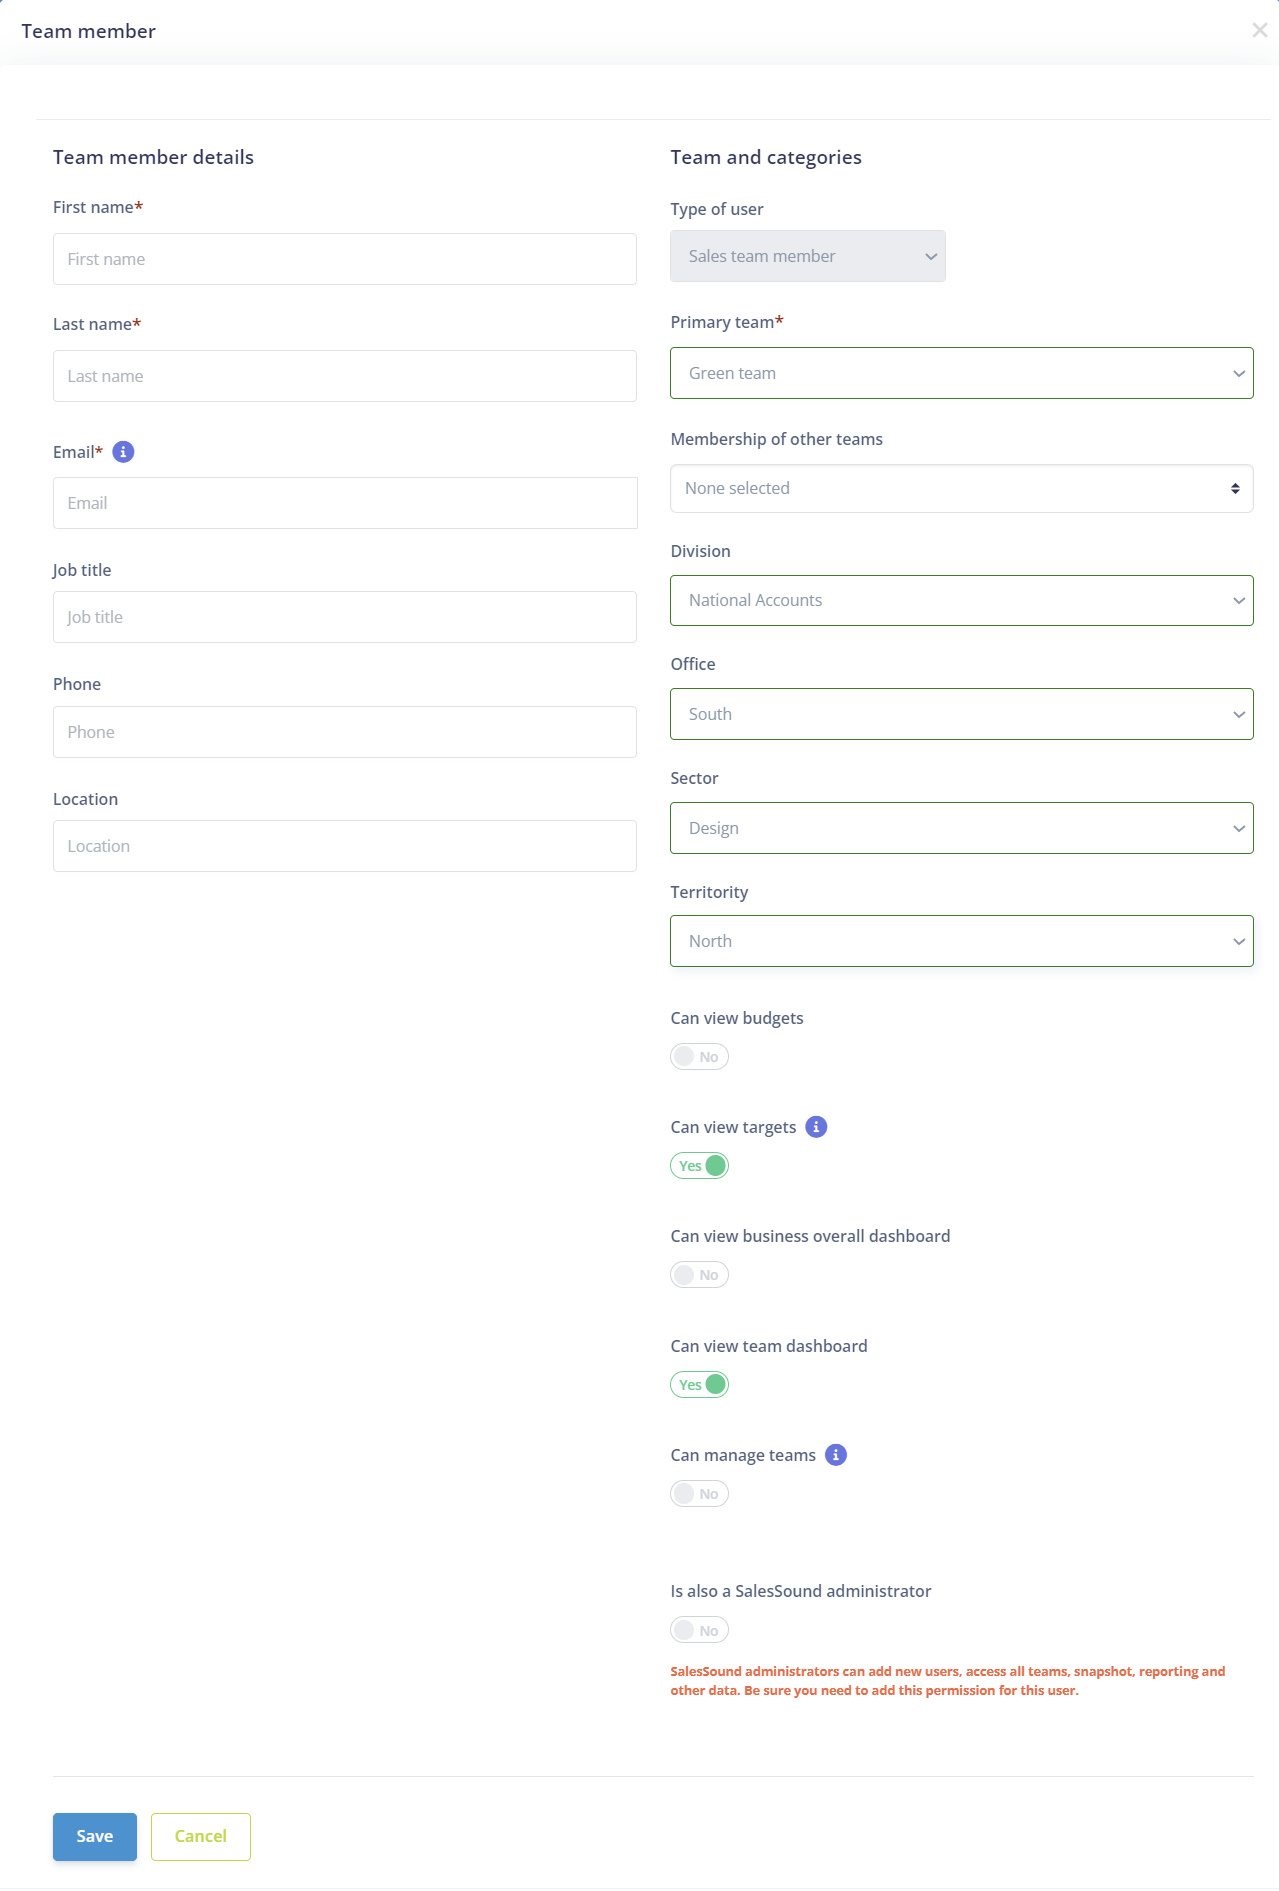
Add people to teams
Choose "People/Sales team" from the top menu, then choose "New person".
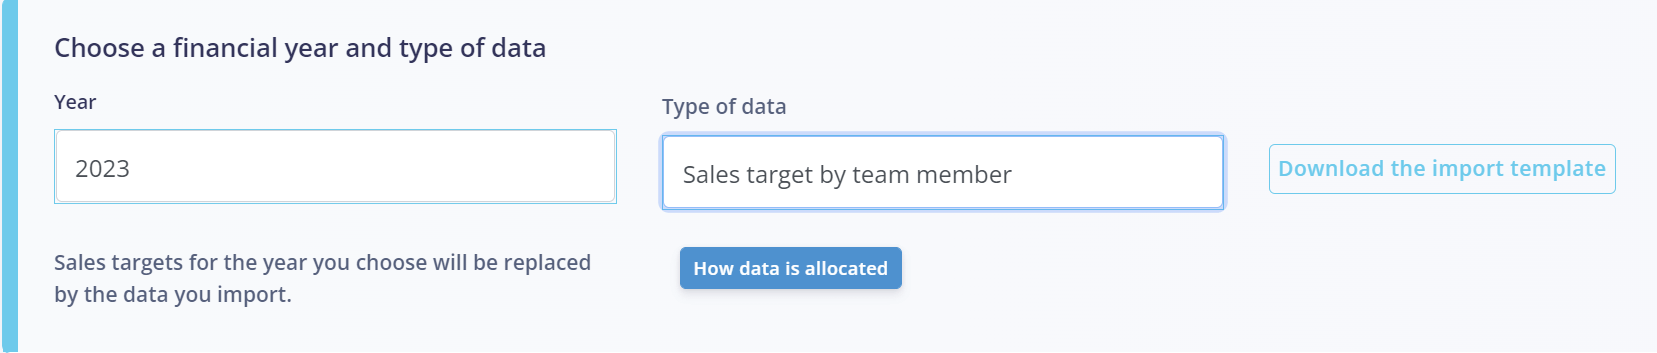
3. Import sales targets, budgets and optionally, customers.
Choose "Sales data" from the top menu. Then choose "Import target data". This option is visible only to administrators.
The data you choose to upload may be data you enter into an Excel spreadsheet yourself, or it may be data you you have extracted from an accounting system in your business.
You should ensure the data you upload is consistent with any accounting system your business uses, and you may wish to ask an accounting colleague to prepare and upload the spreadsheet data for you.

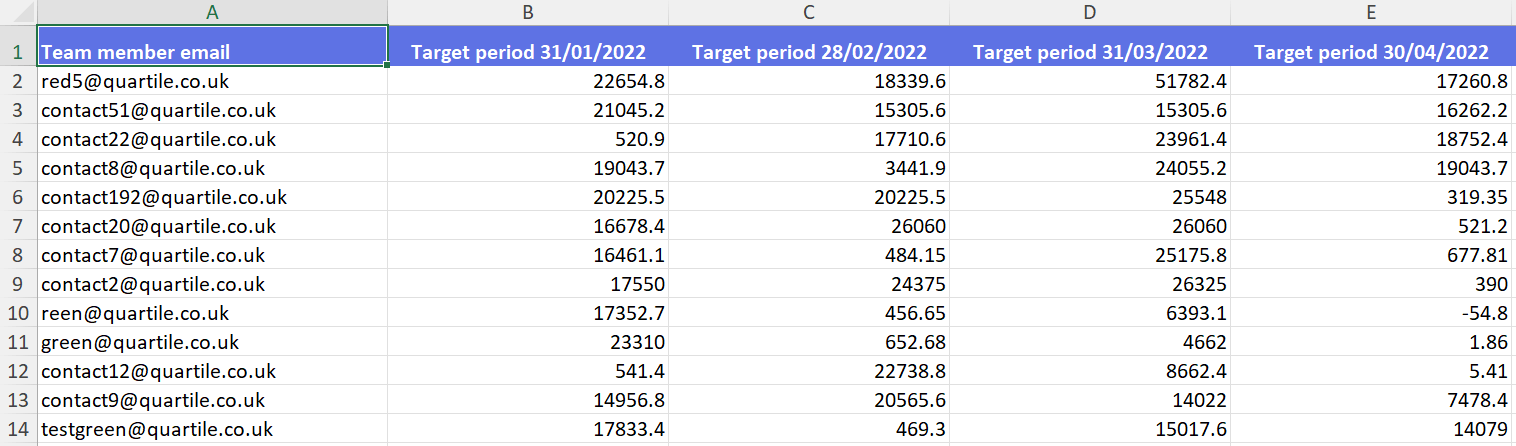
Download the Excel import template
Add your data to the template and then upload it
The email addresses you use for importing data should match the email addresses you created for people in sales teams.
Repeat the download and import process for sales budgets, and optionally for customers.
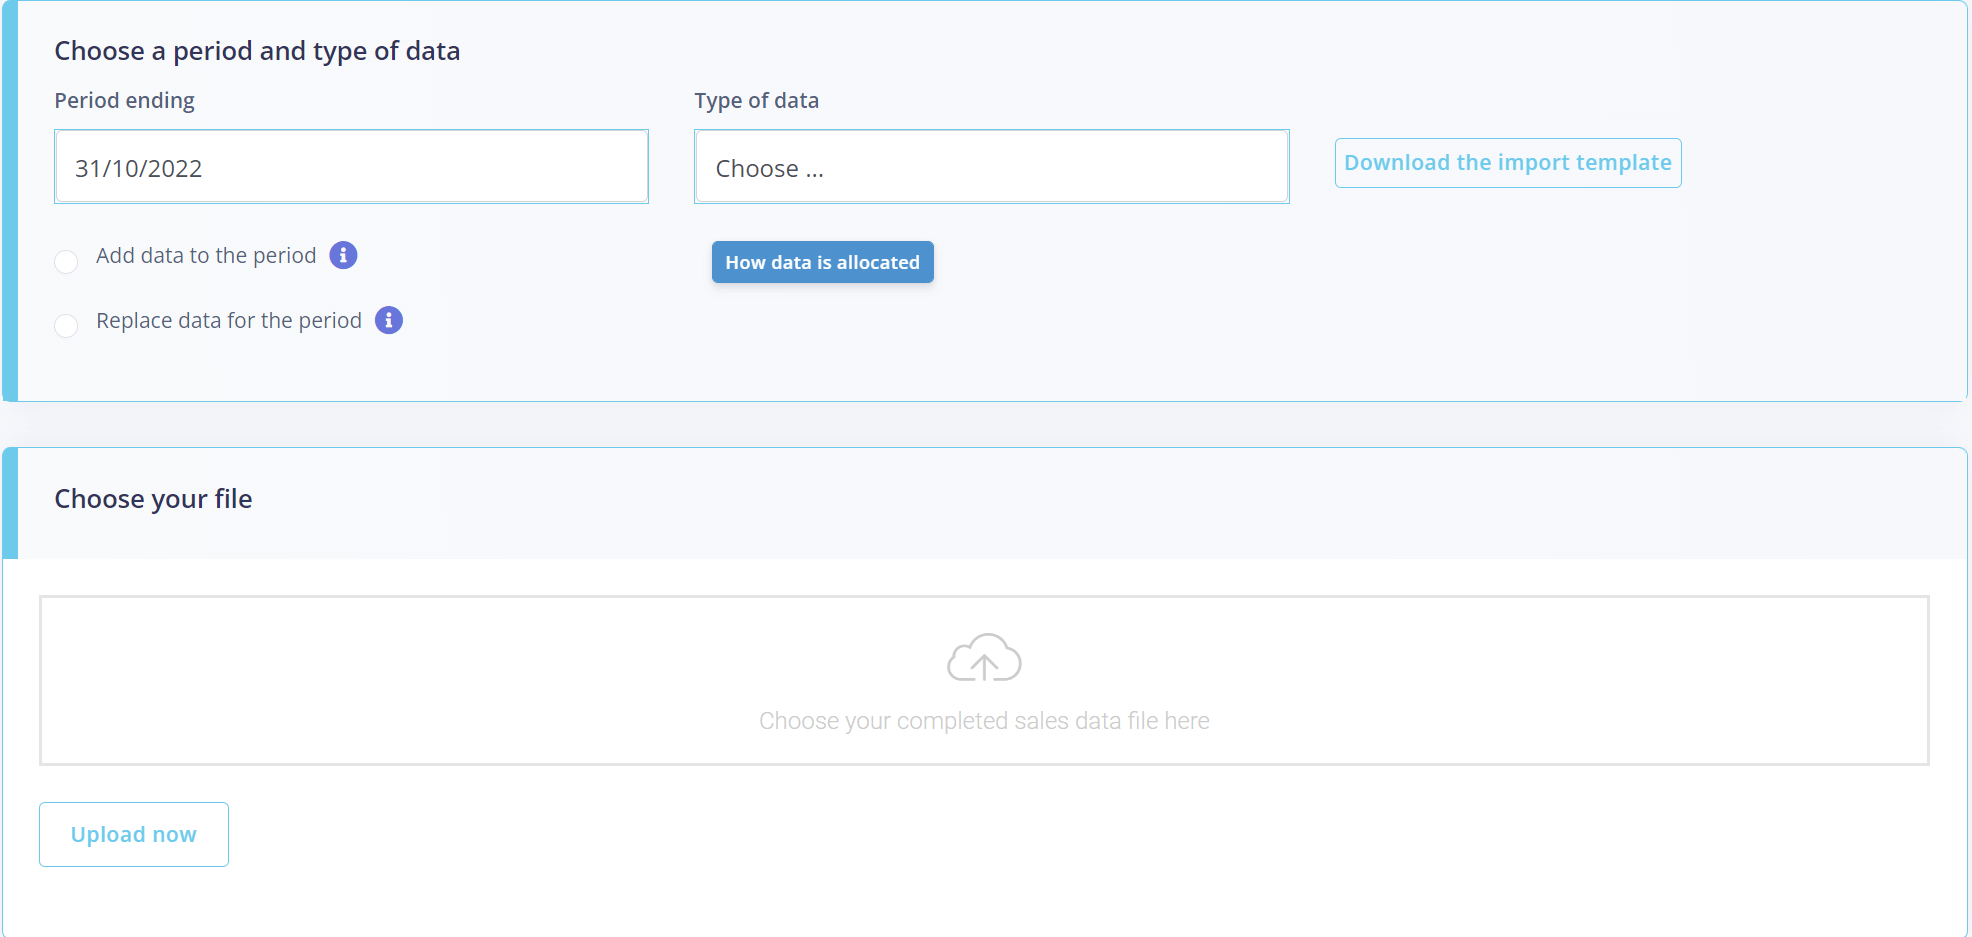
4. Import actual sales data each month or week.
Choose "Sales data" from the top menu. Then choose "Import sales data". This option is visible only to administrators.
Repeat the equivalent process for importing sales targets to upload your sales data - download the template, add your data and the upload the completed spreadsheet. Choose "Add data to the period" if you wish to add to any existing data for the period, for example if you plan to upload data incrementally each week in a month. Choose "Replace data for the period" if you wish to overwrite any existing data for the month with a new upload.
As for target and budget ata imports, you should ensure the actual sales data you upload is consistent with any accounting system your business uses, and you may wish to ask an accounting colleague to prepare and upload the spreadsheet data for you.